

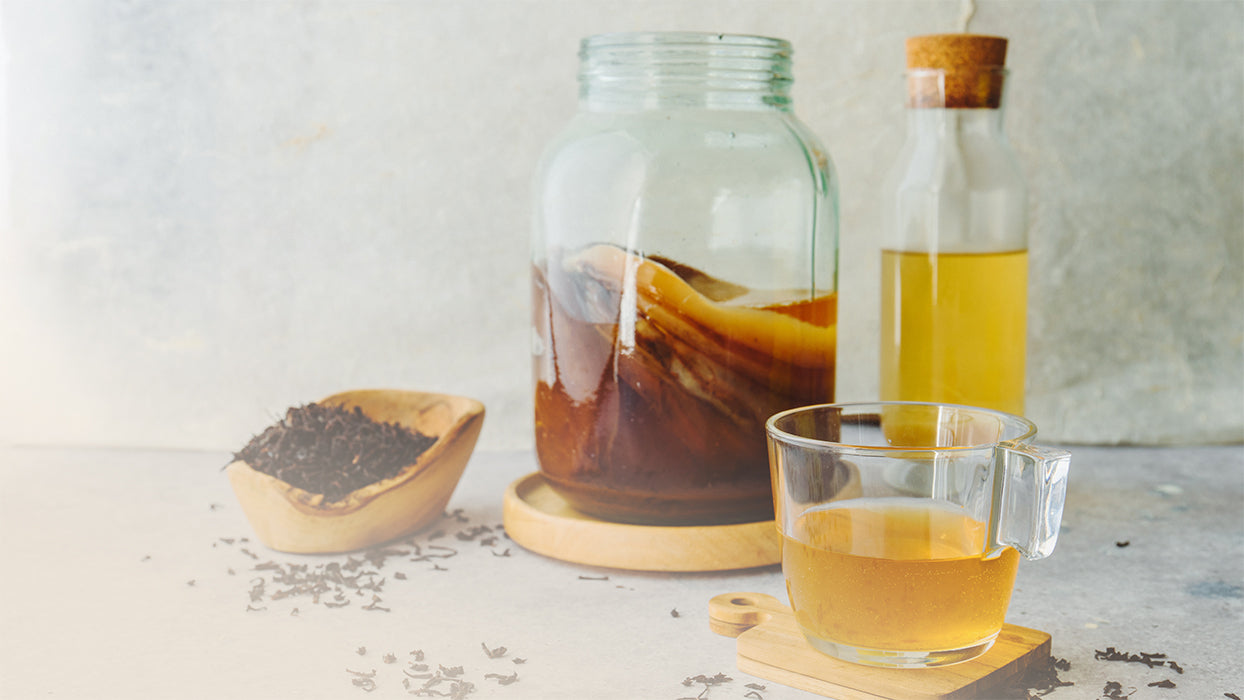

It may sound like witchcraft, but I promise you: making kombucha yourself is not rocket science. Our kombucha recipe has a few essential components, and you'll soon be enjoying your own kombucha from your fermentation vessel at home. With the video instructions and detailed tips, you can brew your own kombucha step-by-step at home.
Making Kombucha Tea: The Basic Recipe for Fermentation Newbies!
To make kombucha, various ingredients are fermented with a tea mushroom (also called SCOBY). Fermentation is a preservation method that produces a special flavor. In the case of kombucha fermentation, bacteria and yeasts, which have grown into a kombucha mushroom – also called SCOBY (symbiotic culture of bacteria and yeasts) – help with this process.
Brewing DIY Kombucha
Merle from Kombuchery explains how to best brew your kombucha in the fermentation vessel with starter liquid in the video instructions.
Making Your Own Kombucha: The Ingredients
For making kombucha, we generally recommend organic ingredients for fermentation.
Before you can make your kombucha tea, you'll need (per liter):
Place ingredients in a highlighted box
- 1 glass vessel (fermentation vessel, brewing vessel) with at least 1.5 liters volume and a large opening (rinsed well without detergent)
- 1 kombucha mushroom, also called tea mushroom
- 8 g black tea or green tea
- 100 g e.g. whole cane sugar
- 1 liter water (filtered if possible)
- Starter liquid or our Kombucha Original with a neutral taste
- 1 breathable covering cloth (preferably made of fabric)
SCOBY for Kombucha Recipe: Where to Get It?
You can easily buy your SCOBY online for the kombucha recipe, or you might be lucky enough to have another kombucha lover give you a pre-grown tea mushroom. The starter liquid is included with most suppliers, or you can use our Kombucha Original with a neutral taste.
Kombucha Guide in 10 Steps to the Drink: Let's Go!
1. First, bring 1 liter of water to a boil in a large pot. Then you can add either 8 g of black or green tea and let it steep for 12 to 15 minutes (while the water simmers gently).
2. Then strain the tea and add 100 g of sugar. The sugar should be stirred until it has completely dissolved in the tea.

3. When making kombucha yourself, it's very important that you let the sugared tea cool down to at least 25 degrees room temperature in a glass vessel. The sensitive SCOBY must not be submerged in hot water. The living bacteria and yeasts, as well as proteins, can be destroyed this way.
4. Now add 100 ml of the starter liquid to the tea mixture.

5. Then carefully add the previously rinsed SCOBY gently into the vessel.

6. You can now cover the opening of the brewing vessel with a breathable cloth and secure it with a rubber band.

After completing these first steps of the kombucha instructions, the SCOBY (at a comfortable room temperature) now has about a week to process the ingredients of the tea, so to speak, "to eat them up." If it lies at the bottom of the vessel, the SCOBY will grow a bit larger and usually form further SCOBY offshoots. Often, however, the SCOBY floats, and over time a thicker kombucha mushroom forms at the top edge of the glass.
- Once the kombucha mushroom has reached the correct fermentation level after approx. 7 days (depending on preferences and taste, we recommend a pH value between 2.9 and 3.1), you can carefully remove the SCOBY from the kombucha liquid and rinse off any tea residues with lukewarm water.
- You can store the SCOBY in some bottled kombucha liquid (new starter liquid) for the next round of making kombucha yourself.
- Before bottling the kombucha, we recommend filtering the liquid through a very fine sieve or, alternatively, through a layer of paper towel to remove any small SCOBY pieces. However, this is not absolutely necessary.
- For secondary fermentation, only use a pressure-resistant bottle suitable for carbonated beverages. Depending on the batch, the kombucha can continue to ferment for about 1 to 2 days at room temperature. Regularly check the bottle and always open carefully, as pressure can build up due to further fermentation. Then store in a cool place.
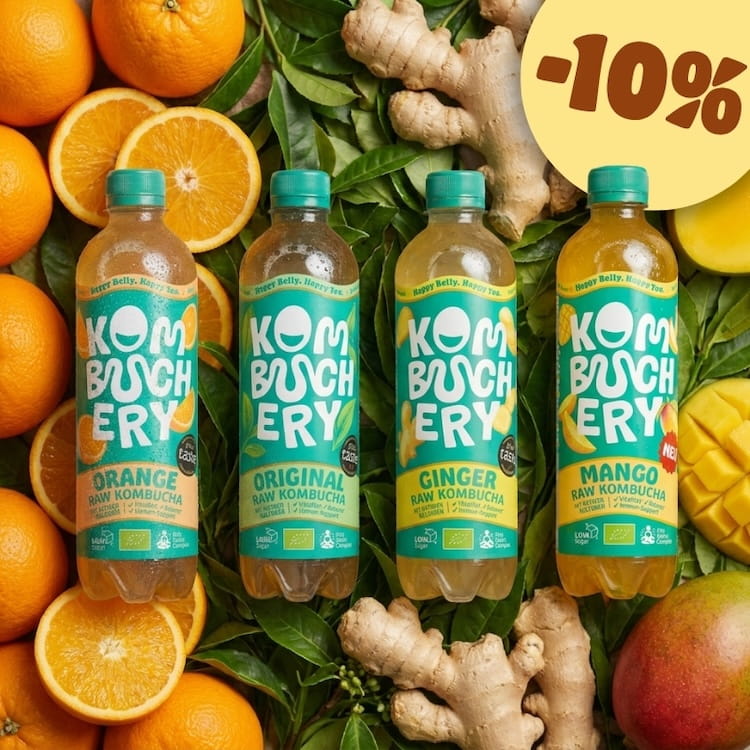
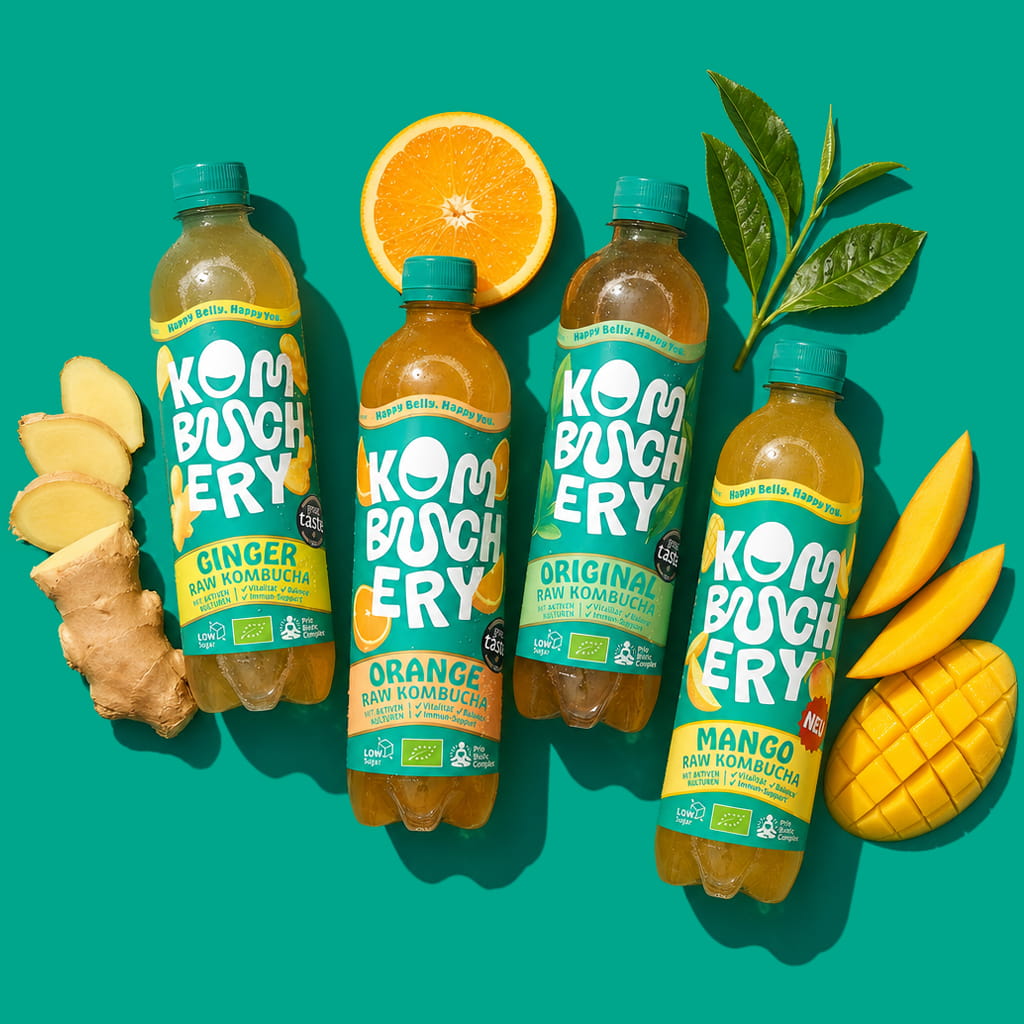
Yay! You have now fermented your first kombucha yourself and can enjoy a similarly delicious and refreshing drink like our Kombuchery Kombucha.
Impatient? Save €20 & time nowFactbox – Making your own Kombucha
Yields: Following these instructions, you will get about 1 liter of kombucha. With a well-maintained SCOBY, you can then make further batches. How long a culture can be used or stored depends on hygiene, acidity, storage, and the condition of the culture.
Nutritional values per 100 ml:
Fat < 0.5 g
of which saturated fatty acids < 0.1 g
Carbohydrates 3.6 – 11.8 g
of which sugar 3.6 – 11.8 g
Protein < 0.5 g
Preparation time: approx. 20 minutes (plus cooling time for the tea)
Fermentation time: approx. 7 days (depending on desired pH value)
Tips & Tricks for Kombucha Fermentation
Even though it involves only a few ingredients and a short working time, care, hygiene, and the quality of the components make for good kombucha fermentation.
Starter liquid for kombucha
The amount of starter liquid should be sufficient and completely cover the culture. A sufficiently acidic environment can hinder the growth of many undesirable microorganisms, but it cannot completely prevent mold growth.
As a rule of thumb for making kombucha yourself: 100 ml of starter liquid per liter of tea.
The more acidic the starter liquid, the more it lowers the initial pH of the new batch. A sufficient amount of starter liquid creates more favorable conditions for fermentation. However, the growth of a new SCOBY can vary from batch to batch and cannot be guaranteed.
Do's & Don'ts in Tea Selection
- Do not use tea with a high content of essential oils or artificial flavors (e.g., fruit tea, sage or lemon balm tea).
- Prefer loose tea over tea bags.
- If you use fruit tea or other teas than black, green, or white tea – only mix it in – do not use it pure!
Hygiene & Cleanliness
To minimize the risk of undesirable microorganisms or foreign bodies, you should carefully clean all used items and your hands. It is best to use vinegar to clean all items and tools. You can also clean your hands with vinegar water.
The best water for brewing tea
The composition of the water used can also influence taste and fermentation. Whether additional filtering is useful depends on the tap water and its composition. Drinking water can generally be suitable for fermentation; if in doubt, you can find out about local water quality or use suitable filtered or still water.
Kombucha Storage & Kombucha Care
There is no general shelf life of six months for homemade kombucha; it depends, among other things, on hygiene, acidity, bottling, and storage. Bottling kombucha does not automatically stop the fermentation process. Over time, the kombucha becomes a little more acidic and develops more sparkling natural carbonation.
Kombucha should be stored as cool and dark as possible. This is best done in the refrigerator or a cold cellar. Here, kombucha is exposed to only a few external influences and can be stored in peace. This can extend its shelf life by some time. Constant cooling slows down fermentation, and the kombucha only slowly becomes a little more acidic.
Brewing kombucha again: Can I make the tea mushroom myself?
You can also grow your own kombucha mushroom without an internet starter kit. The ingredients are the same, and it just takes a little more time and patience.
With tea, cane sugar, and our Kombuchery Original as starter liquid, the kombucha mushroom can form on its own within 7 to 21 days, depending on the conditions.
It's exciting to watch how small foam bubbles form on the surface of the liquid. These will become denser and denser over time until the kombucha mushroom slowly becomes visible. Patience pays off! Making kombucha yourself is really exciting!
FAQs: Making your own Kombucha drink
How much kombucha can you drink?
With kombucha, it's like with all other foods: you shouldn't overdo it with consumption. Start with a small glass per day and see how you tolerate the kombucha. After a few days, you can drink more.
A generally applicable maximum or optimal daily amount cannot be determined for kombucha; individual tolerance can vary.
Can you split the kombucha mushroom?
You can separate individual layers of the kombucha mushroom with clean hands. Simply pull them apart very carefully. Or use commercially available scissors cleaned with vinegar and carefully cut the SCOBY into pieces. You can use the individual pieces to make a new kombucha in the brewing vessel or give them away.
Which tea is suitable for kombucha?
For making kombucha yourself, black tea is particularly suitable, but oolong tea or green tea are also good choices for successful fermentation. A combination of green and black tea is also one of many possible alternatives.
Our favorites:
- Black Tea Golden Monkey: Darjeeling, Frisian Blend (Assam, Ceylon, Indian Himalayan)
- White Tea: Silver Needle, Shou-Mei, Oolong Tea
- Green Tea: Sencha & Matcha, New Spring, Chun Mee
Sugar in Kombucha
The added sugar is primarily needed by microorganisms during fermentation. Yeasts and bacteria require sugar as a nutrient source for metabolic processes. In the end, depending on the fermentation technique, a sugar content of 3 g to 12 g of sugar per 100 ml of kombucha remains. You can also experiment with different types of sugar yourself.
If you prefer your kombucha tarter and less sweet, you can adjust the recipe and fermentation time. The required initial sugar amount depends on the culture, batch, and fermentation conditions; therefore, a general minimum amount of 80 g per liter cannot be set for every batch.



Share:
3 comments
Ich habe das erste Mal kombucher angesetzt und nach dem abfüllen probiert. Er schmeckt sehr süß, habe ich was falsch gemacht?
Hallo Hilga, du kannst alle Früchte und Gewürze benutzen, die du möchtest. Da kann man ganz wild experimentieren.
Liebe Grüße!
verwendest du auch die oben abgebildeten Zutaten Zitrone und Ingwer?